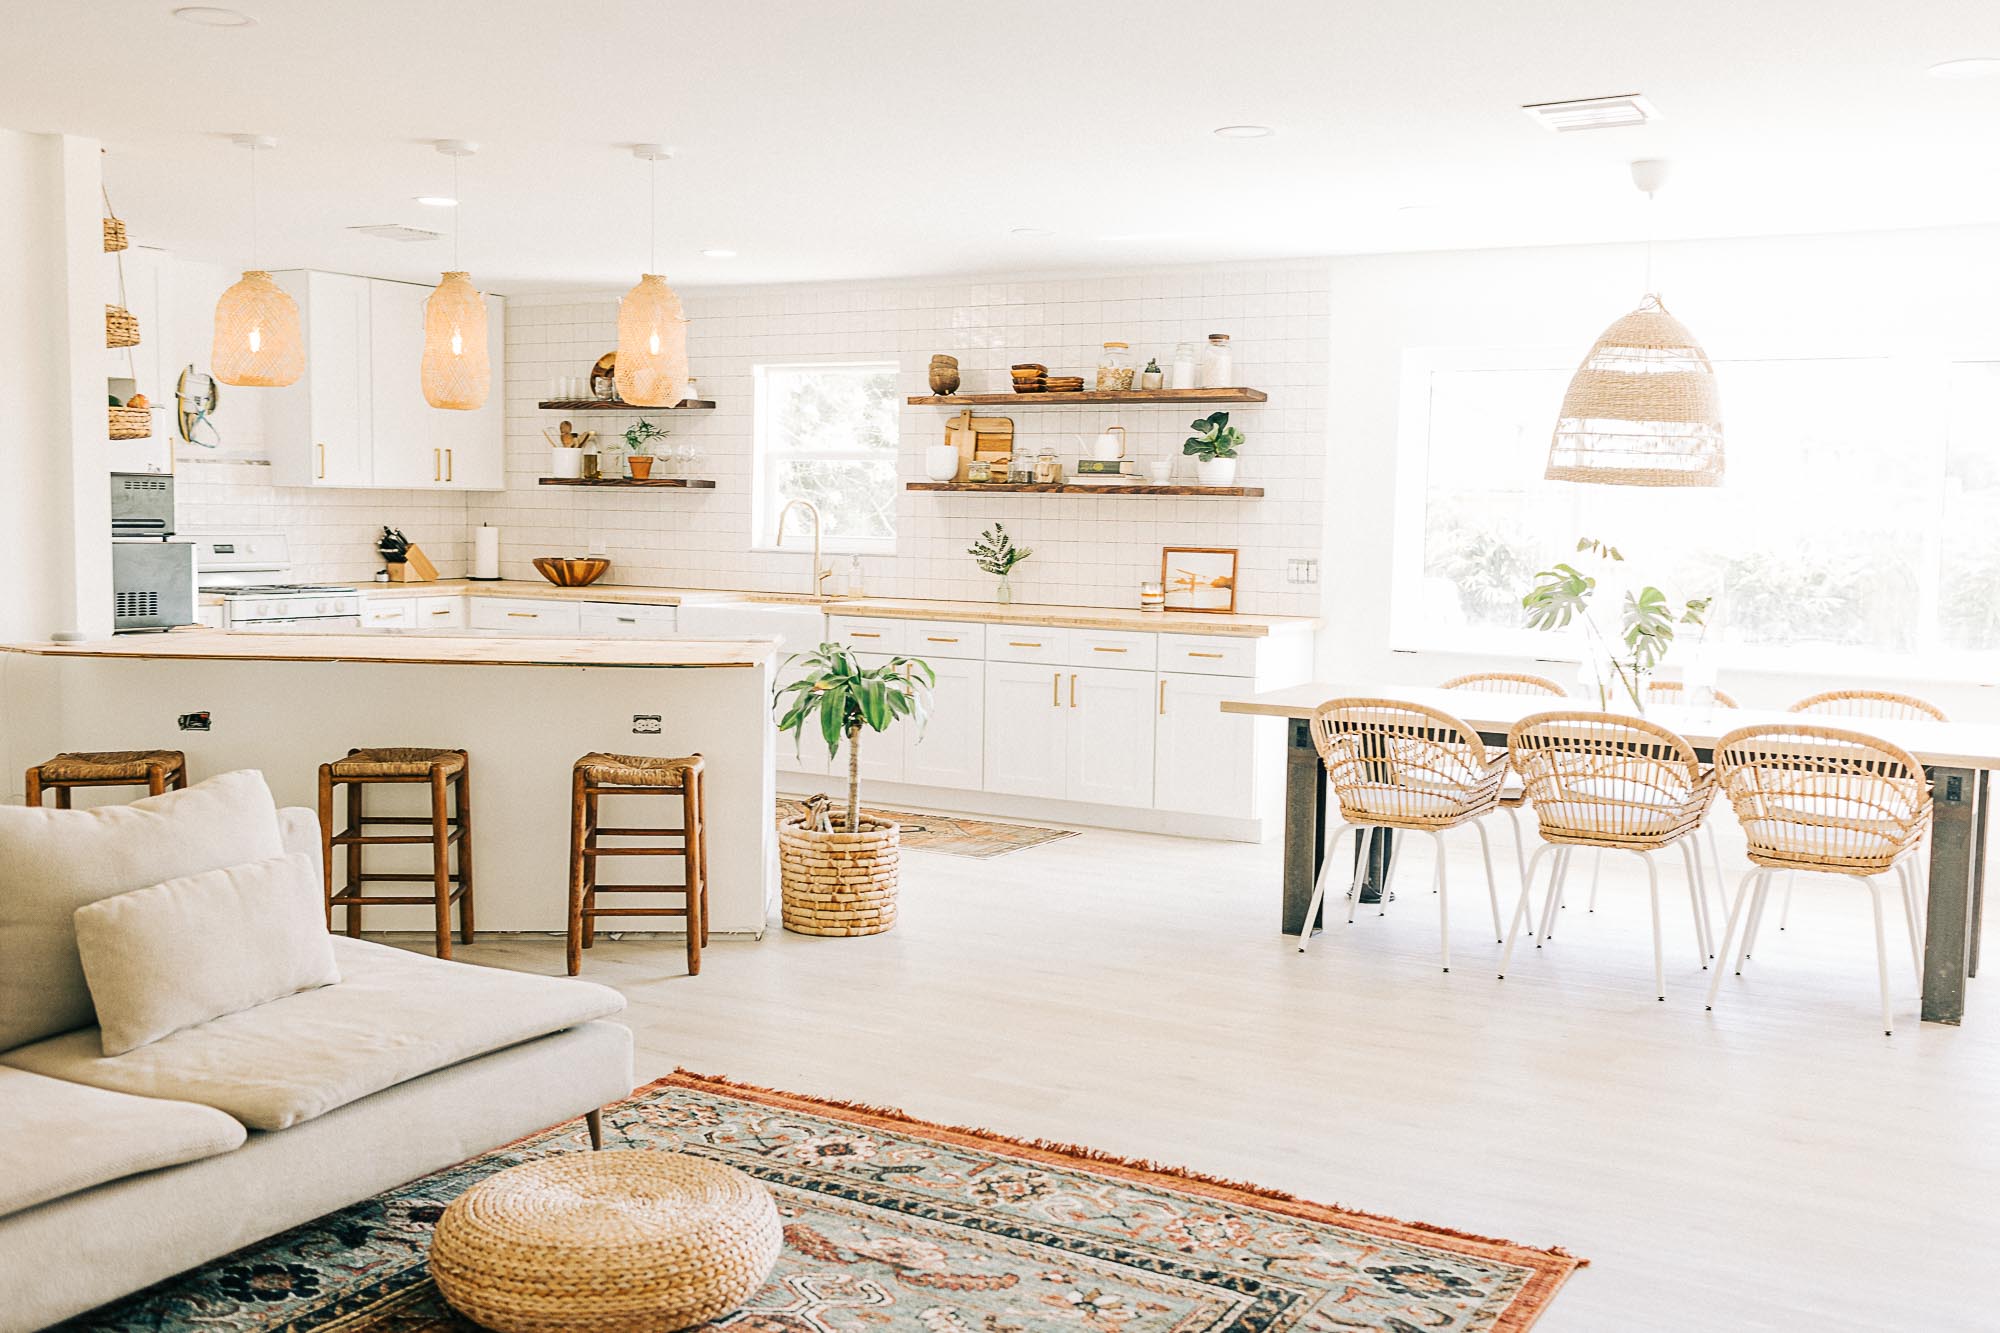
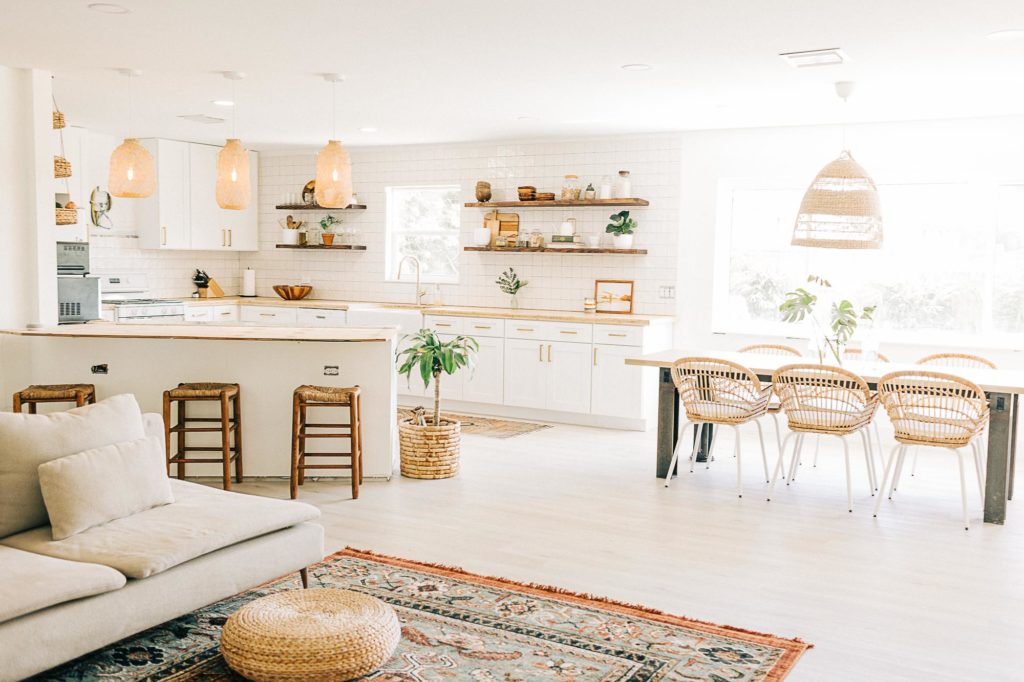
I was hoping that by the time I got around to this kitchen update, it’d be totally finished. However, the reality of re-building an entire home is that everything sits partially completed–for a really long time. The other day my friend compared our kitchen to the set of “Full House”. You know how you only ever see that one perfect view into each room? I’ll share the messy, unfinished parts too, along with future plans at the end of this post.
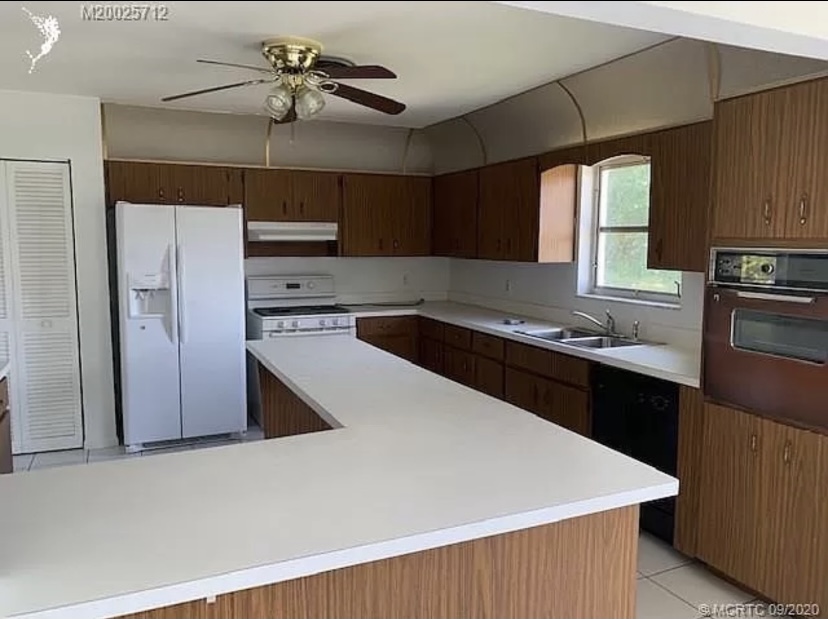
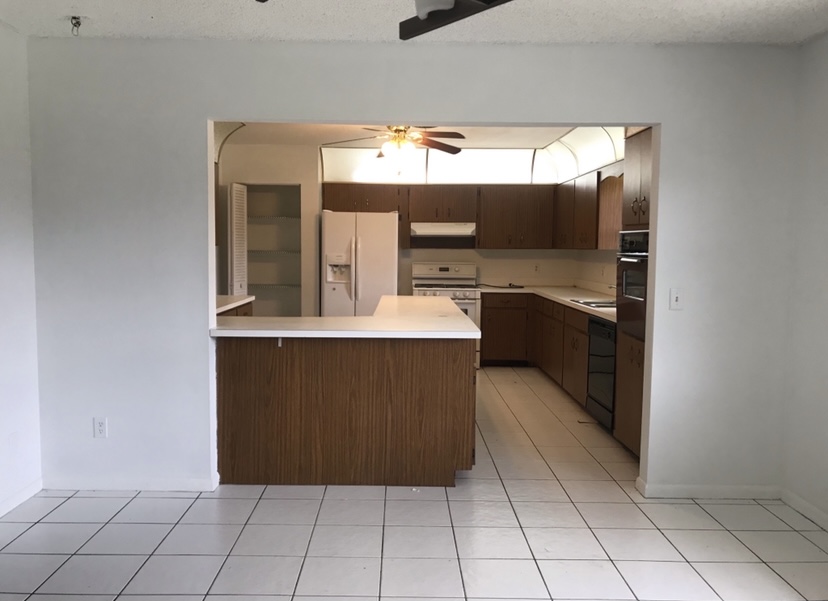
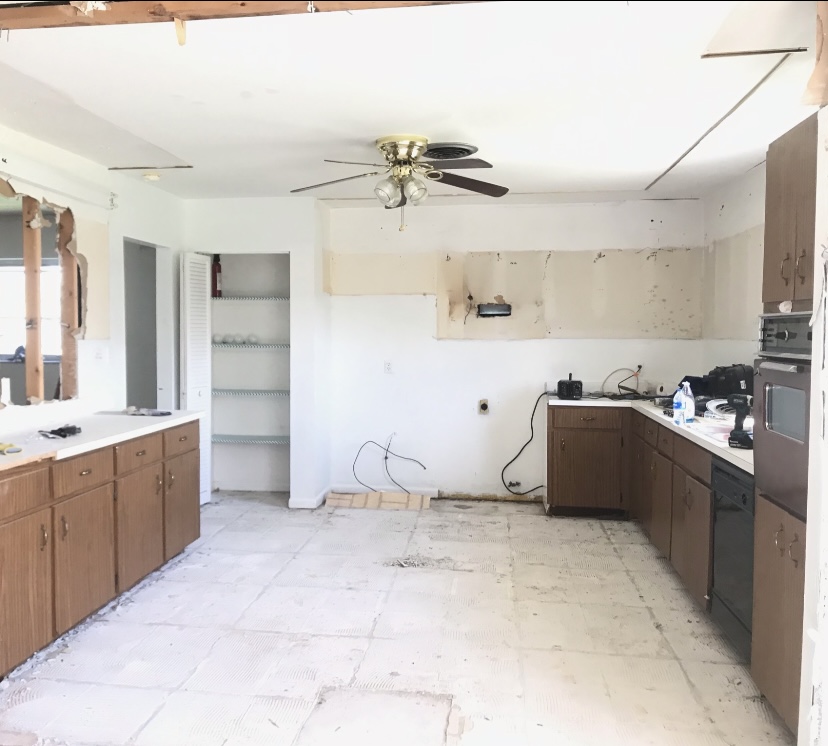
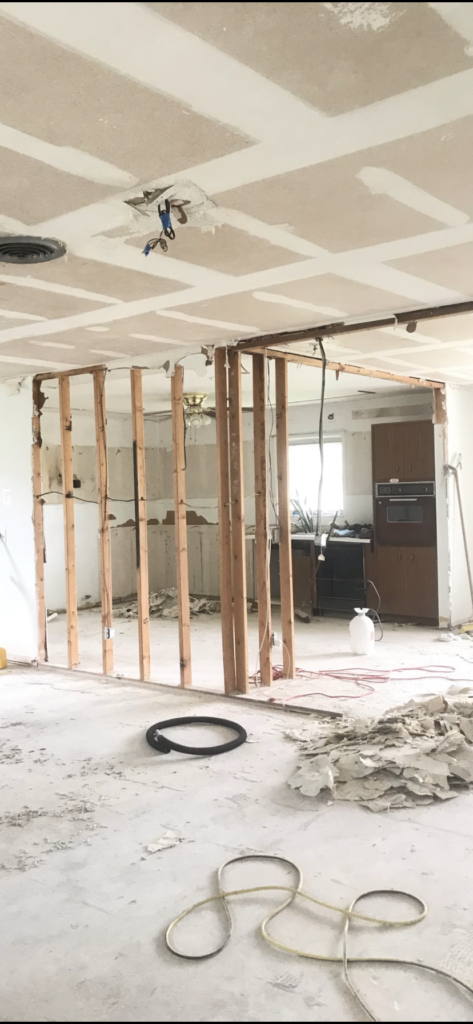
When we started demo in the kitchen, we realized our plan for a quick cosmetic renovation was about to become a lot more than that. Evidence of rats, termites, and electrical hazards meant we needed to do a full gut & re-build. Turns out our inspector was new to the job and missed quite a few things. This was one of those ‘laugh so you don’t cry’ situations… Thankfully my dad is the most handy dude & a great teacher, my husband was working from home and had the free-time, and most of my weddings were postponed because of covid. The three of us, along with some really kind tradesman friends, put in the hours. We opened up the walls dividing the kitchen & living space to start from scratch.
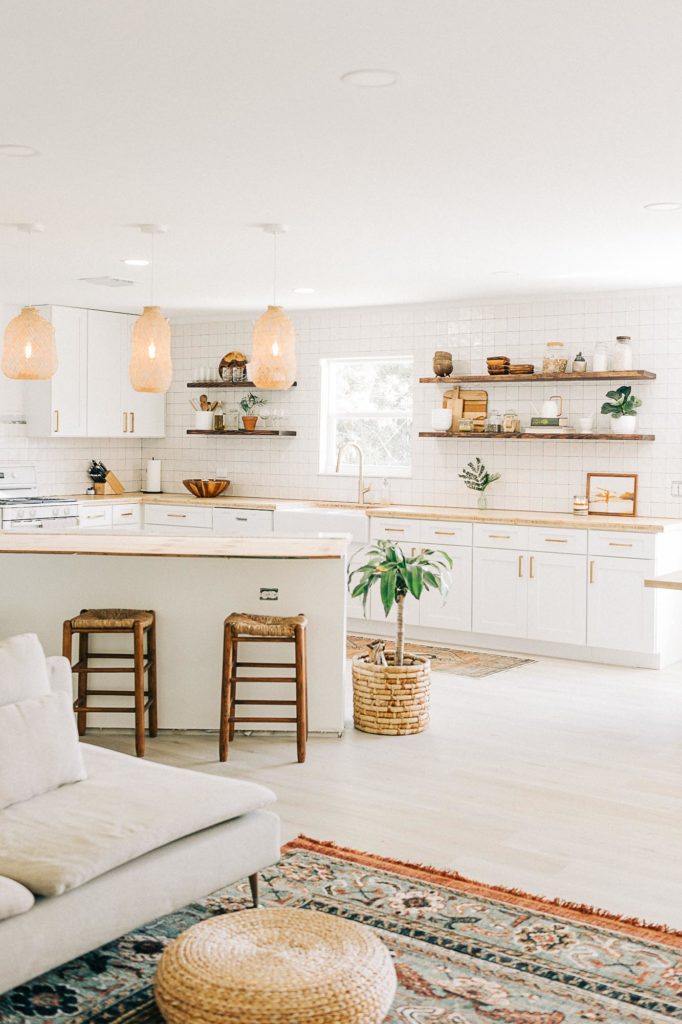
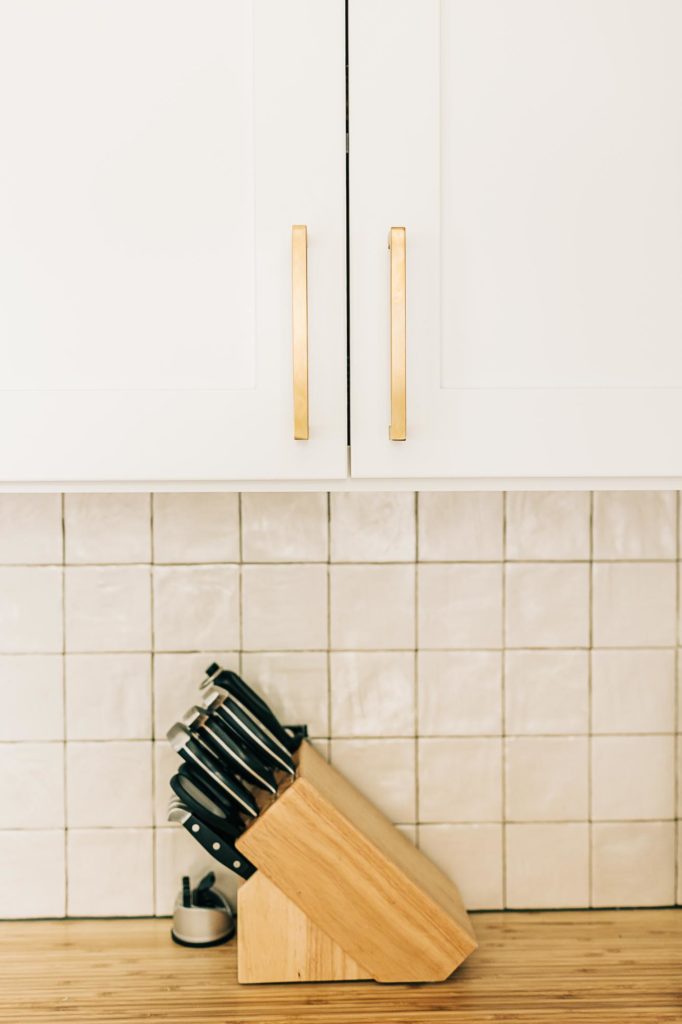
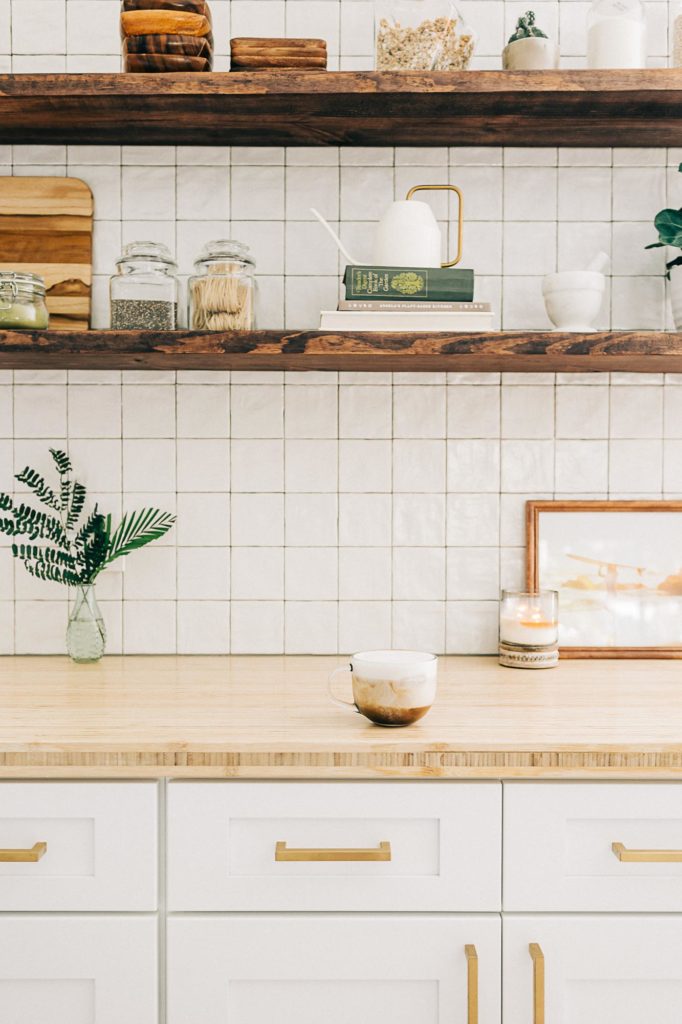
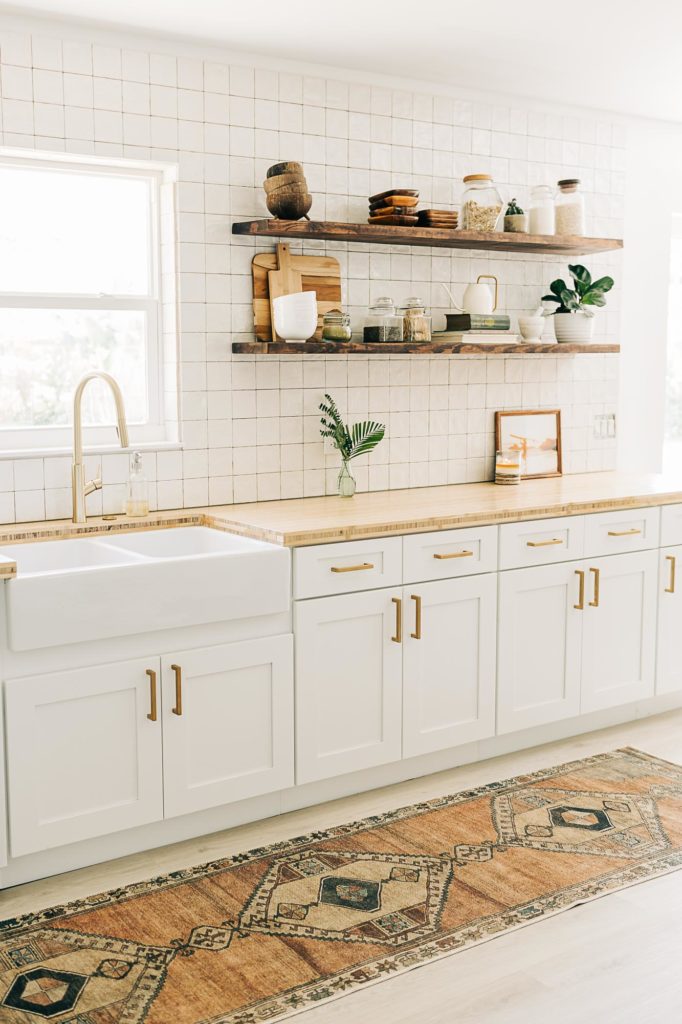
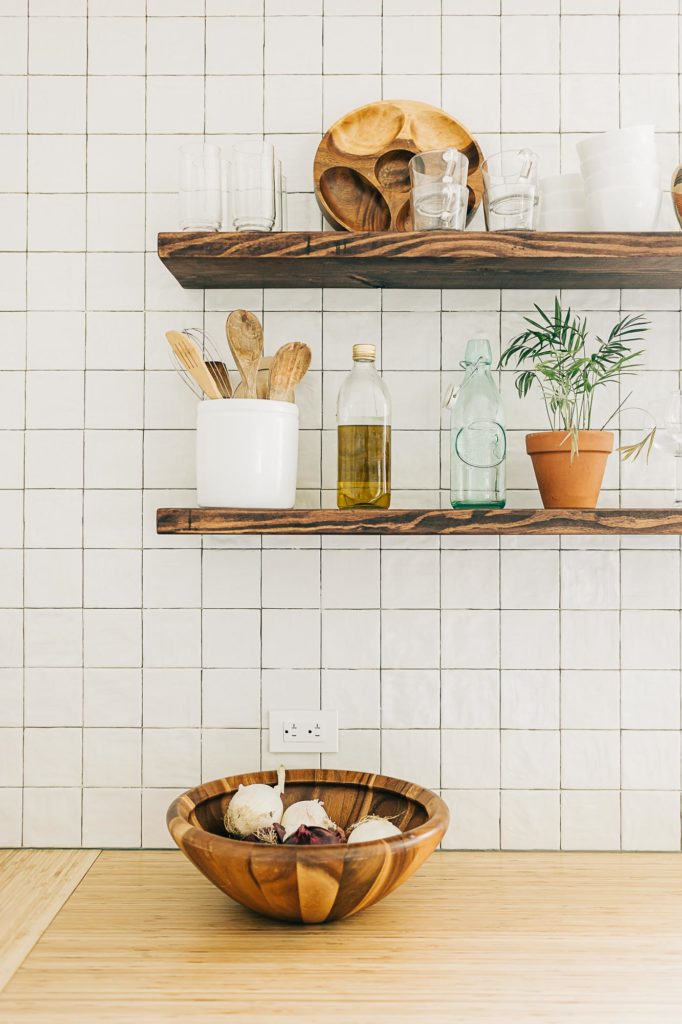
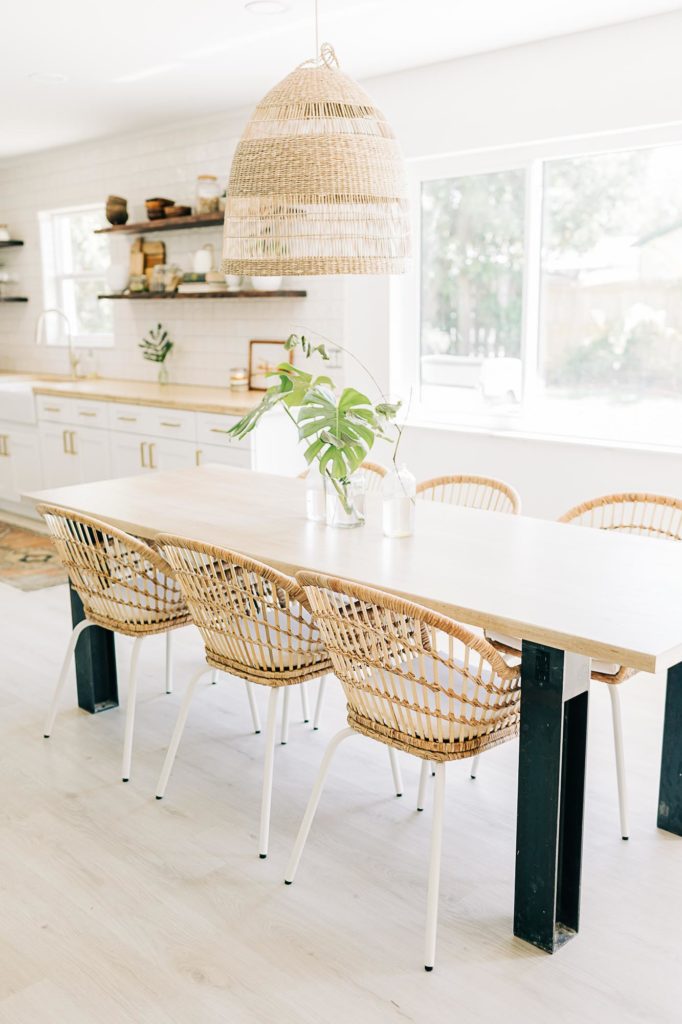
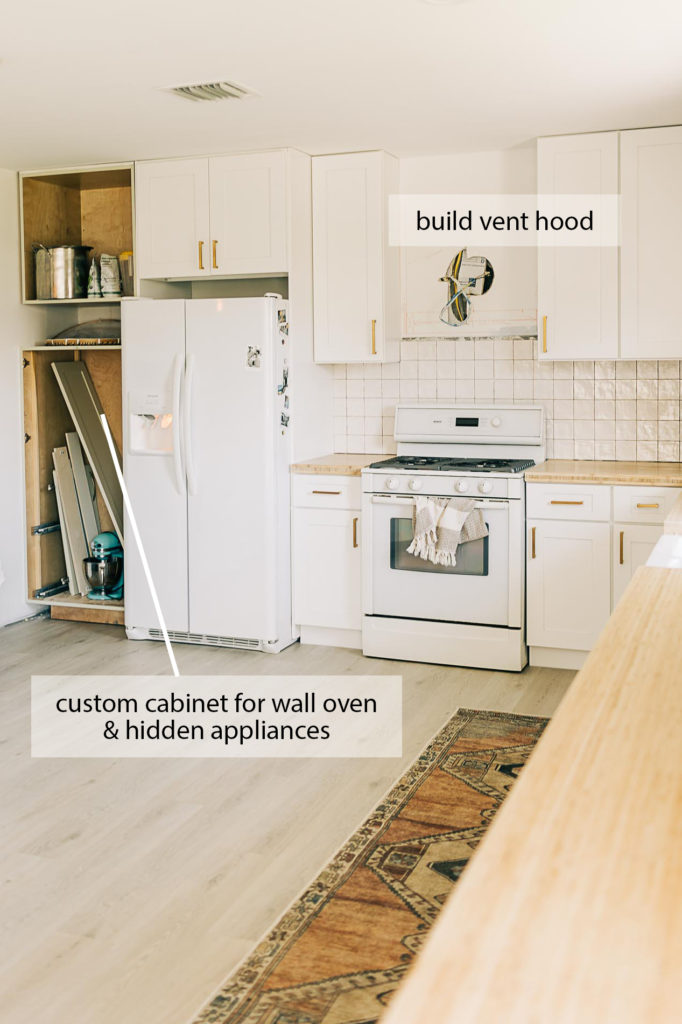
For our backsplash, I chose Mallorca Spanish tile for its imperfect texture and varying color as the light hits it. There were purchasing options online, but I ended up buying locally from Flooring Outlet & Design Center so that I could see it in-person. If you are leaning towards a Spanish textured tile like this, especially one with any sort of pearlescent sheen, I’d recommend taking samples home with you to see what it looks like with your light. For example, our tile appears bright white when hit directly by natural light, but since our kitchen is back-lit by windows, it takes on a much creamier color on our walls.
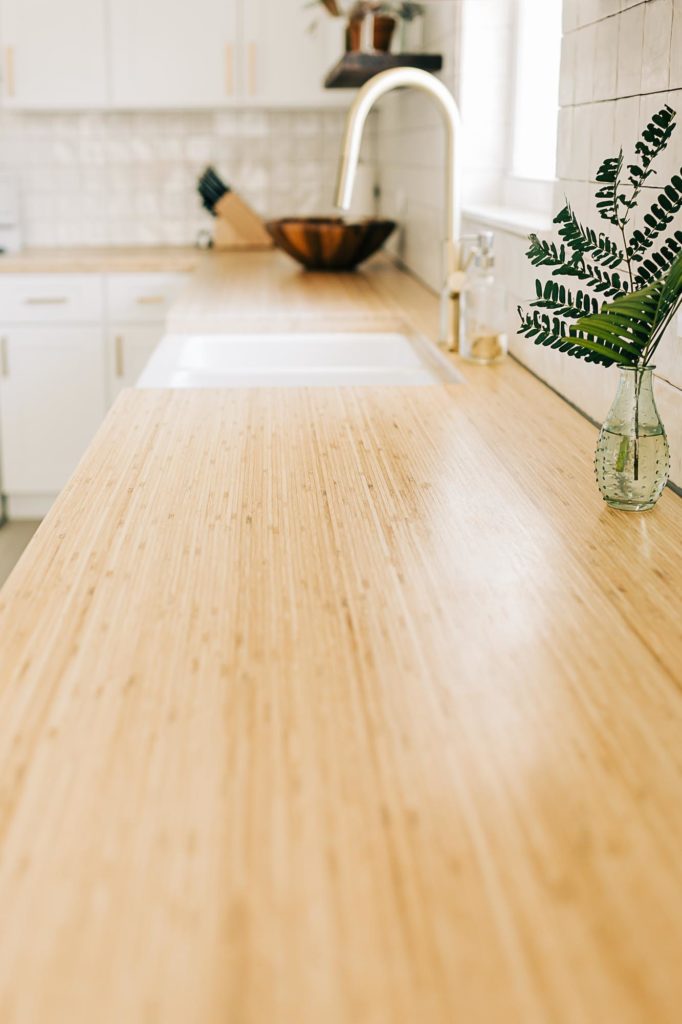
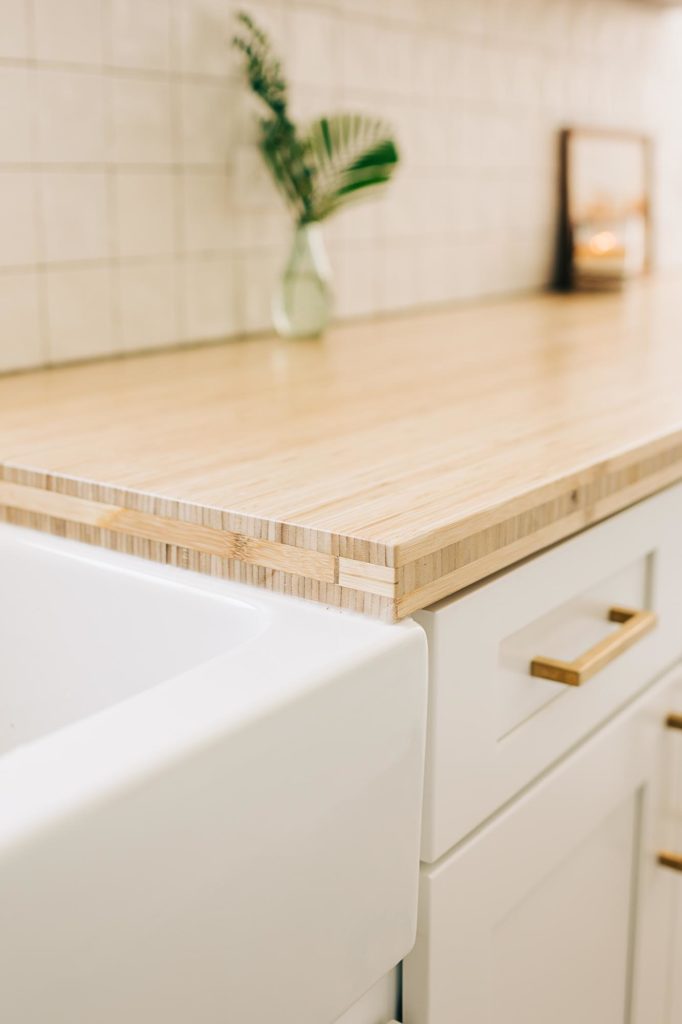
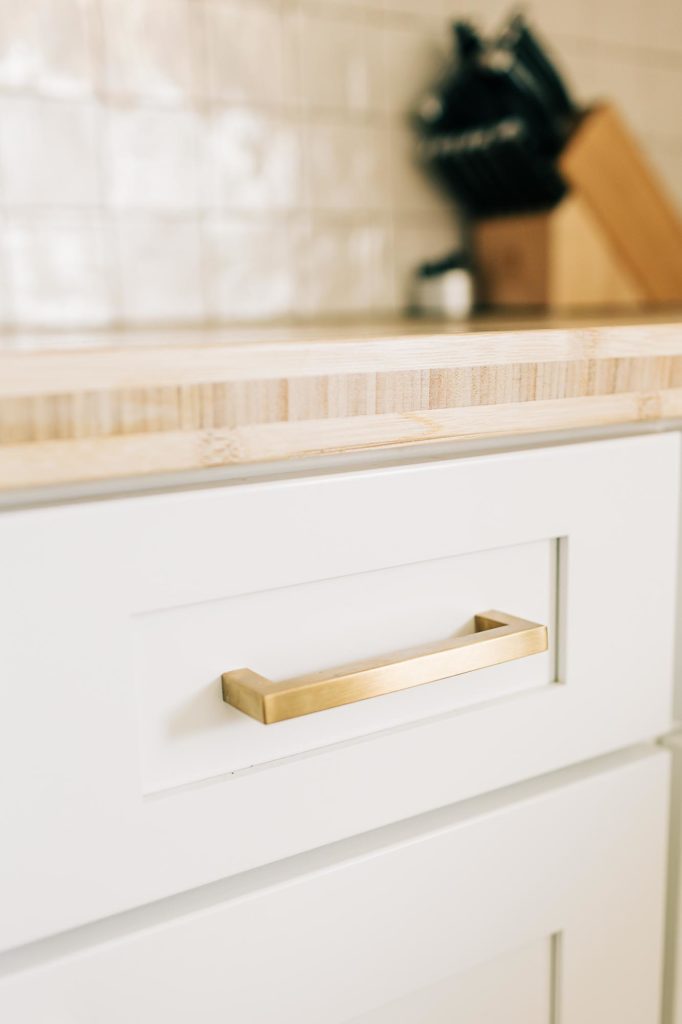
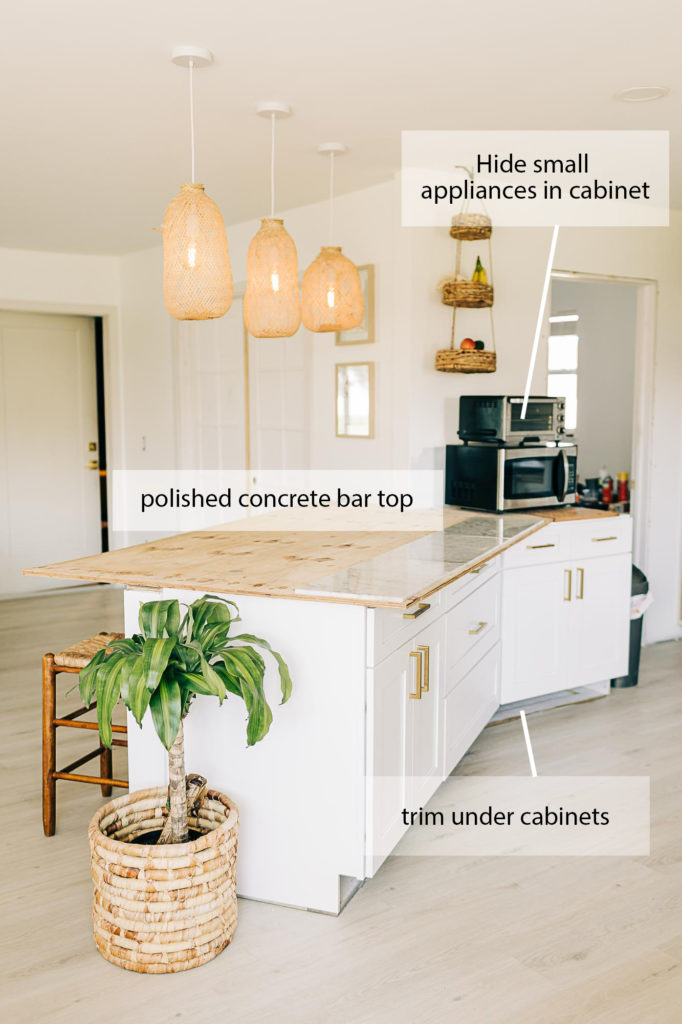
Our countertops are from Lowes. Since they are solid bamboo, they were really easy to work with. Simply cut as needed, sand, and seal to waterproof. Of course since they are wood, you can’t set hot pans on them, so that’s something to consider if you’re in the habit of doing so. We had butcher block at our last place, and to me, the look is worth the extra care and caution. Our bar top will be made of concrete, so eventually we will have at least one durable surface.
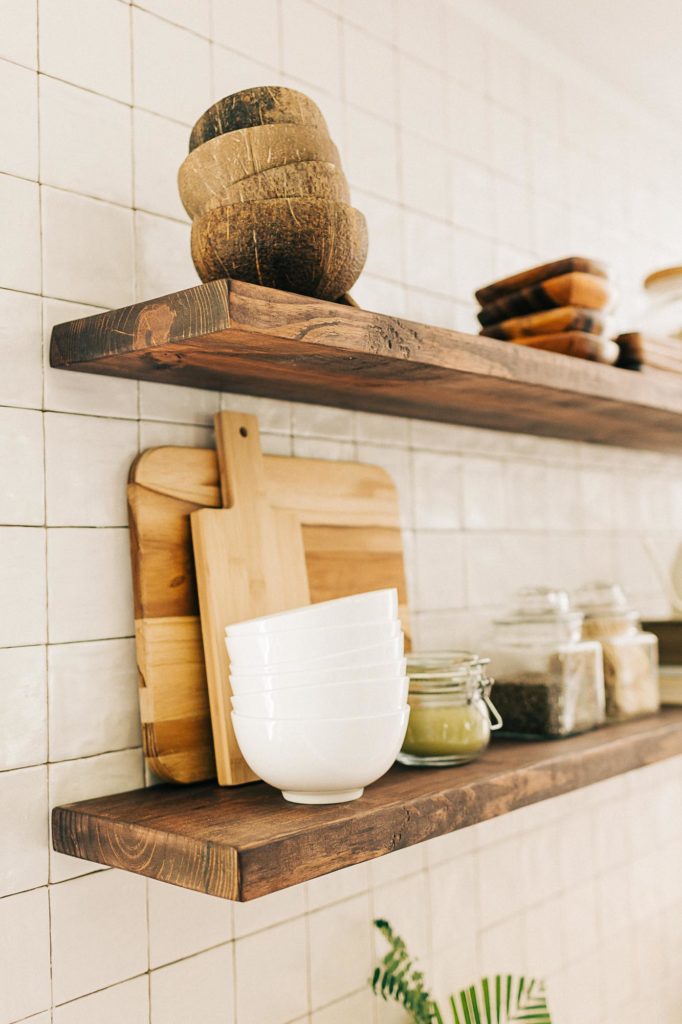
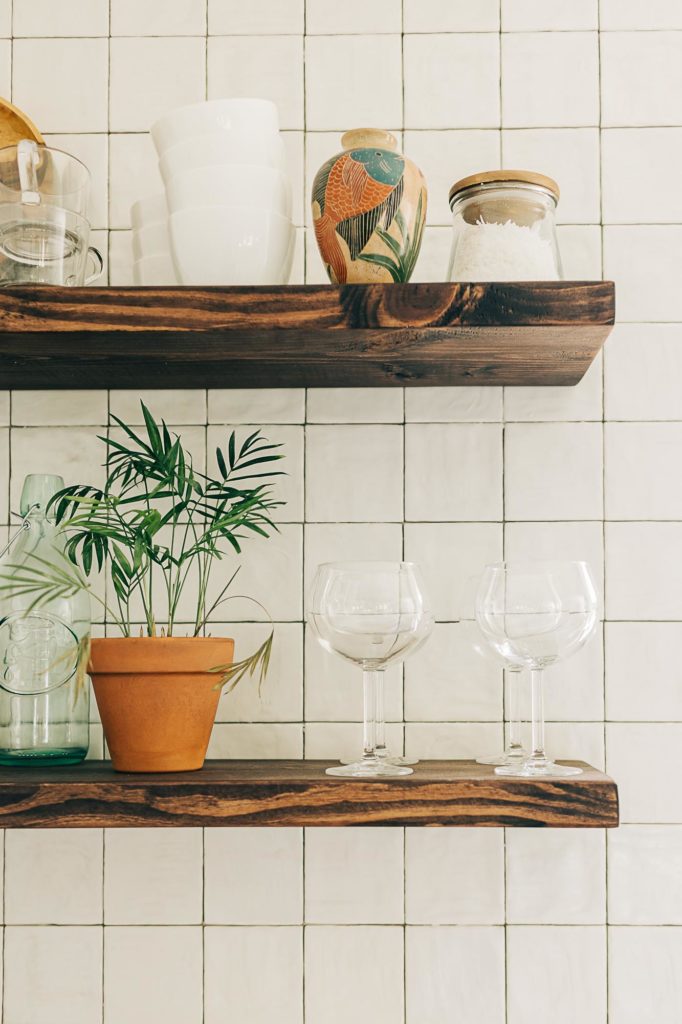
For our floating shelves, I used 2×10 pine and stained in a red mahogany shade. In a perfect world, mahogany wouldn’t be eight-million dollars, but I am super stoked with how these turned out. Pine is cheap, and paired with our Big Teddy wall brackets, the shelves have proven to be really durable. Braden (the math guy) drilled the holes in the backs of each shelf to slide into the wall brackets. The best thing about the Big Teddy Brackets was that they are slightly adjustable, which gives you some wiggle room even after drilling your holes & installing.
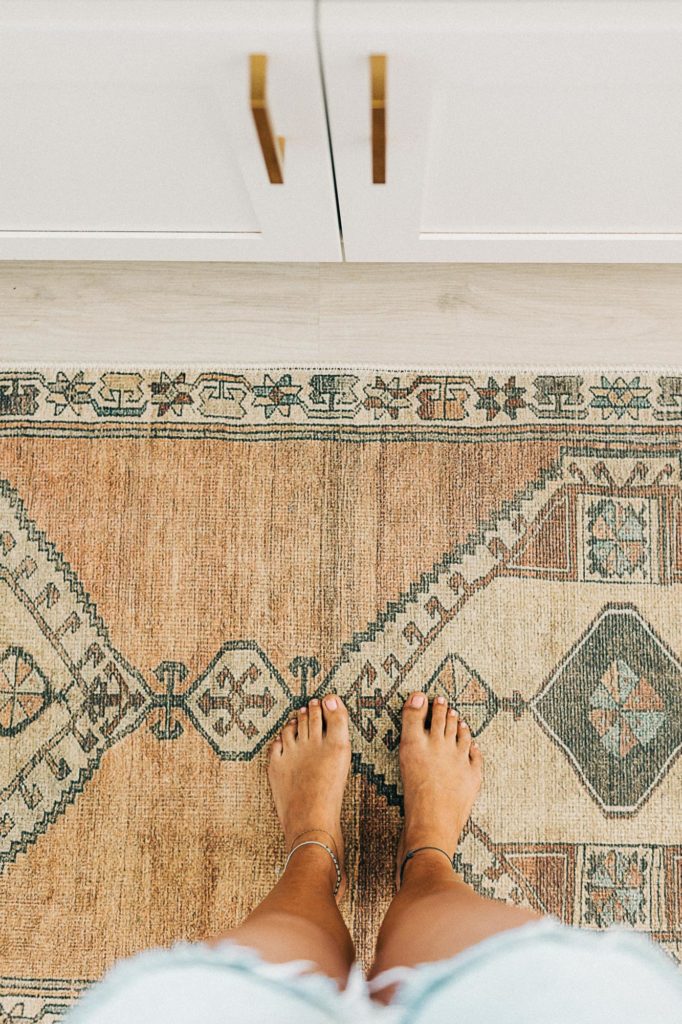
Our runner is from Boutique Rugs. It is washable and these colors are ideal for hiding the orange curry I will inevitably spill on the daily.
Links to my favorite finds during this project:
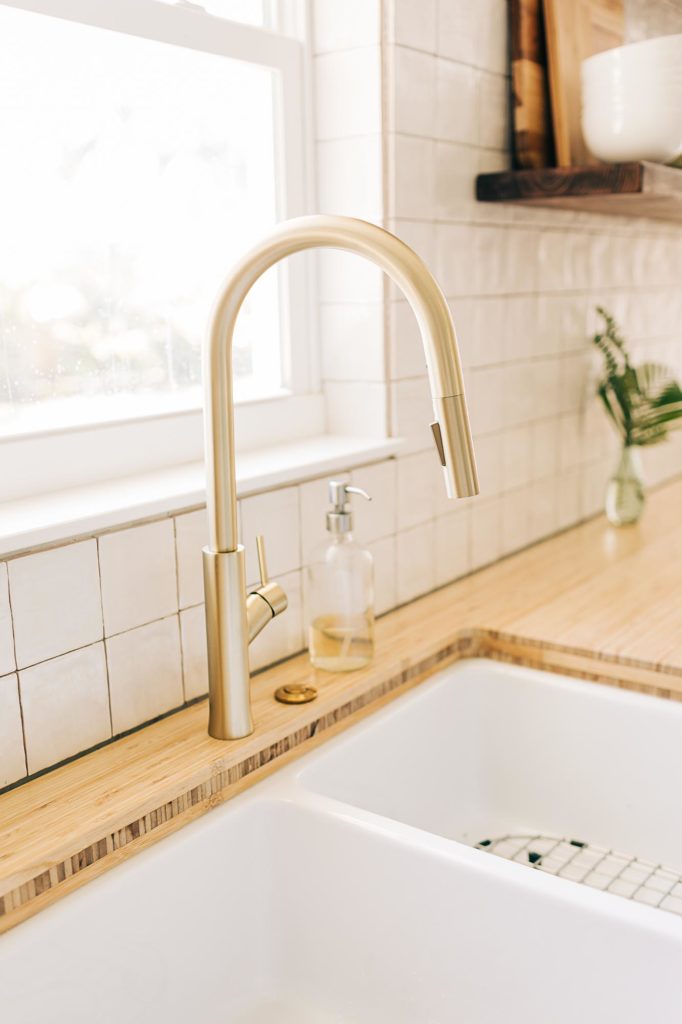
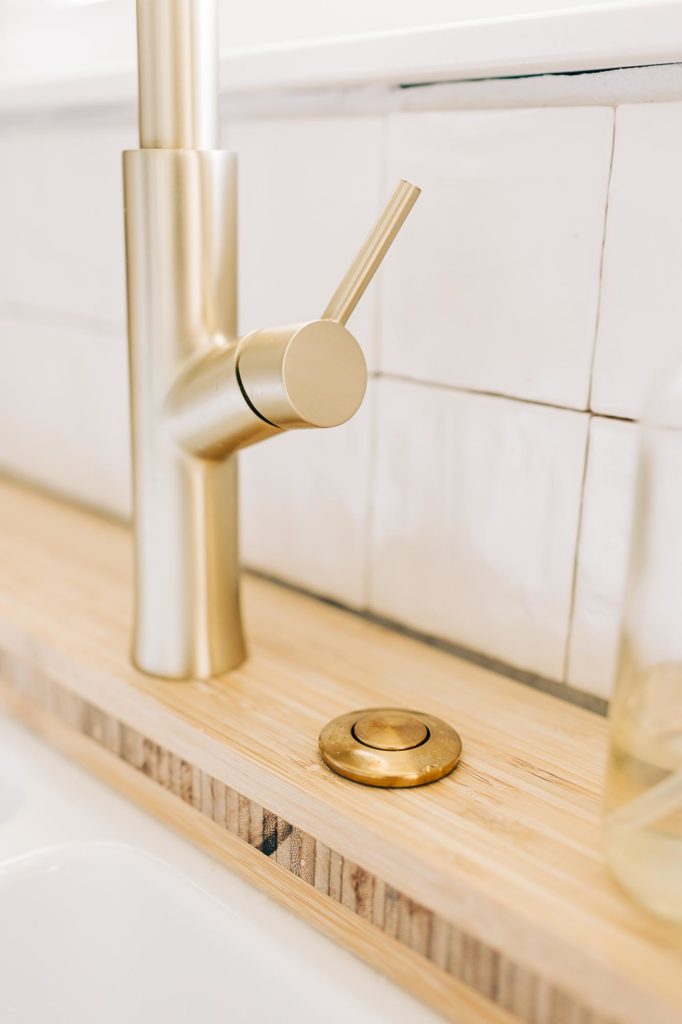
Gold Touch Sensor Kitchen Faucet
Future plans:
There is still so much to do in here. Trim under cabinets, finish wiring in receptacles, build the vent hood, build a custom cabinet for wall oven & small appliances, window trim, concrete bar top, top row of backsplash, grout, aaaand the list goes on. Hopefully one day *soon* there will be a part two of this–with a fully completed kitchen. But we really aren’t in any rush. After 7 months of laboring here every day and night, we are just stoked to finally be moved in. Even in the mess, it’s a dream.
What room should I share next?
This blog post contains affiliate links, which means if you purchase through the links provided, I may receive a small commission at no extra cost to you. Thank you for supporting my business!
Beautiful is an understatement! I’ve loved watching what you’ve shared through the months of making this dream come true from the day you bought the house. Awesome job!
Ahh thank you Kara! I love seeing your updates as well–so much fun!
[…] countertop from Home Depot, floating shelf brackets from Amazon , cabinet pulls leftover from our Kitchen reno, frames & office chair from Homegoods, & photos from my Print Shop make this space extra […]